


Sacramento Duct Leakage Testing for Title 24 Permits

Last Updated: November 2, 2026
Quick Summary
Duct leakage testing measures how much conditioned air escapes from your ductwork before it reaches the rooms it is meant to heat or cool. The result shows whether the system is sealed well enough to meet Title 24 energy rules and support permit closeout.
Testing is typically required when HVAC work changes the duct system, such as a full replacement or ductwork alterations.
The rater seals all supply and return registers, then pressurizes the system to a reference pressure, typically 25 pascals.
The outside-air duct connections to the central forced-air system must stay open during the test and must not be sealed or taped.
A failed test is common and fixable: identify the leaks, seal them, then retest before the building inspector visits.
Schedule the test after installation is finished and before final inspection to avoid a second trip and fee.
Table of Contents
What Duct Leakage Testing Measures and Why Permits Require It
Duct leakage testing measures how much conditioned air escapes from your ductwork before it reaches the rooms it's meant to heat or cool. The result tells the inspector whether the system is sealed well enough to meet state energy rules.
Leaky ducts waste energy and money. Air that escapes into attics, crawl spaces, or walls never reaches the living space. The system runs longer to hold the temperature you set, and the bill goes up.
Permits require testing because the California Energy Commission sets energy efficiency rules for buildings, which are enforced through Title 24. Duct testing is one of the checks that shows a new or altered system meets those rules.
Measures air leaving the duct system under pressure
Confirms the installed ductwork is sealed to the required standard
Produces documentation that supports permit closeout
When Duct Leakage Testing Is Required for Sacramento HVAC Work
Duct leakage testing is typically needed when HVAC work changes the duct system. The trigger is the scope of the work, not the size of the project.
Common triggers include:
A full HVAC system replacement
Alterations that add, move, or reconfigure ductwork
New home construction with a central forced-air system
Local permit requirements can vary, so check with your building department before scheduling. The official California form for this work, the CF3R-MCH-20b, is a useful reference for what the test must cover. California Energy Commission CF3R-MCH-20b duct leakage test form
How a Duct Leakage Test Is Performed Step by Step
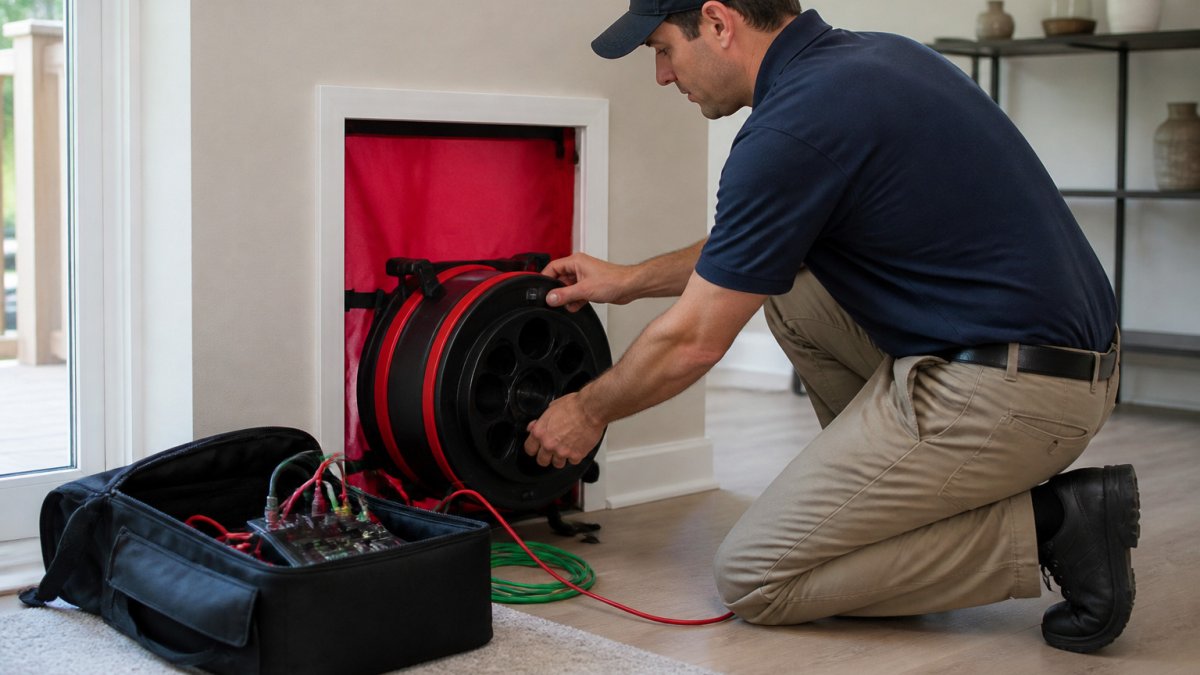
A duct leakage test is a controlled pressurization measurement, not a visual inspection. The rater temporarily turns the duct system into a sealed pressure vessel, forces a known airflow into it, and calculates how much air escapes. For the full procedure, see certified duct testing steps. Here is the full sequence and the equipment behind it.
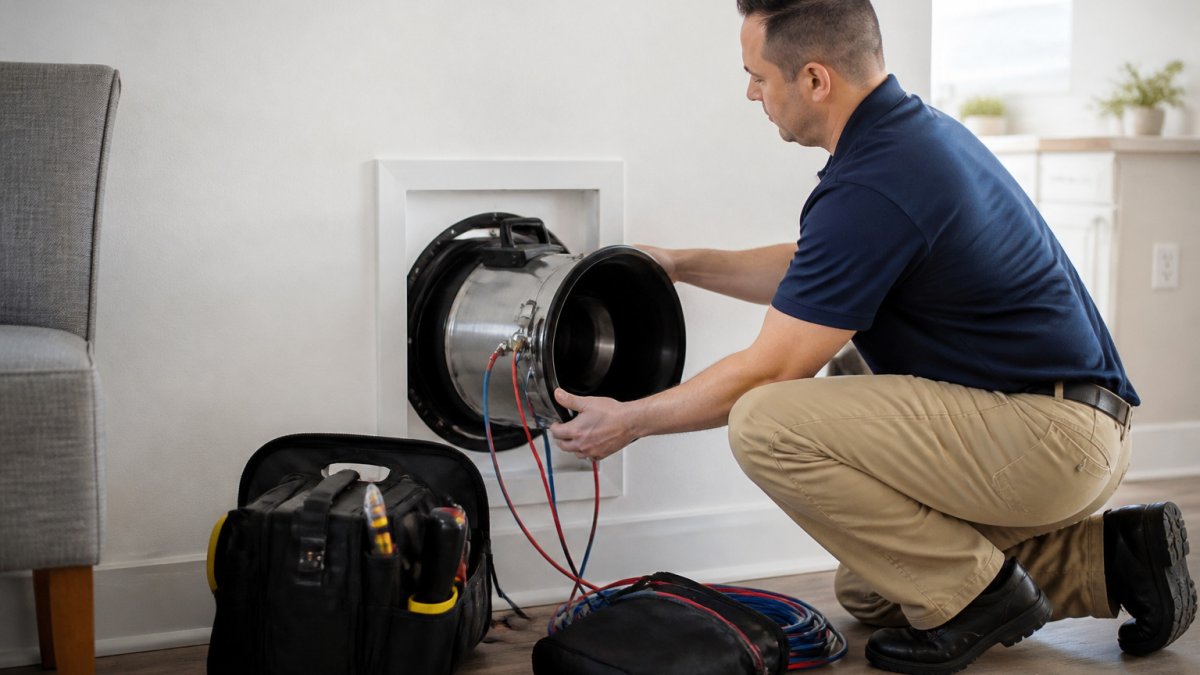
Equipment used.
The test sequence.
Isolate the duct system. Seal every supply and return register and grille that is part of the tested system with masks or temporary covers. The goal is to close off the openings into the rooms so the only path for air is through leaks in the ductwork itself.
Connect the tester. Attach the calibrated fan to the duct system at a controlled opening, commonly at a return grille or a dedicated test port at the air handler.
Pressurize to the test standard. Run the fan until the duct system reaches the reference pressure specified in the test procedure (typically 25 pascals for the standard duct leakage test). Hold that pressure steady.
Measure the airflow needed to hold pressure. The fan's airflow at that pressure equals the leakage rate. The manometer and fan controller display it directly, usually in cubic feet per minute (CFM).
Record and compare. The rater logs the measured leakage, the test pressure, the system configuration, and the pass/fail result against the threshold that applies to the project.
Watch Out One rule catches many installers off guard. The outside-air duct connections to the central forced-air system must stay open during the test. Do not seal or tape them off. California Energy Commission test procedure instructions
The U.S. Department of Energy's Building America Solution Center explains that the whole HVAC distribution system should be tested, not just one piece. DOE Building America duct leakage test guide
Key Takeaway The number on the report is only meaningful if you know which measurement it represents. Confirm whether your project requires total leakage or leakage to outside before the rater sets up, the pass threshold and the repair strategy can differ. The test follows a fixed sequence, from sealing the registers to comparing the measured leakage against the threshold. Step What to do Time or frequency Isolate the duct system Seal every supply and return register and grille with masks or covers Before the test Connect the tester Attach the calibrated fan at a return grille or test port at the air handler Before pressurizing Pressurize to the test standard Run the fan until reference pressure is reached and hold it steady Typically 25 pascals Measure leakage Read the airflow needed to hold pressure, shown in CFM At test pressure Record and compare Log leakage, pressure, configuration and pass/fail against the threshold After measurement Duct Leakage Test Preparation Checklist Good preparation prevents a failed test and a return visit. Before the rater arrives, confirm the following: HERS rater setting up a blower door and gauge for duct leakage testing at a residential HVAC unit Ductwork is accessible at the air handler and key connection points Supply and return registers are in place and not blocked Any visible open duct connections are noted for the rater The system is installed complete, with no open work still underway Permit documents and equipment details are ready to share Watch out: Scheduling the test before the installation is finished usually means a second trip and a second fee. Reading Duct Leakage Test Results and Documentation The test ends with a report. It lists the measured leakage and whether the system passed the threshold set for the project. A passing report is the document you need for permit closeout. Keep a copy with the project file, since the building department may ask for it. Read the report for three things: Contact Us Now → The measured leakage value The pass or fail result against the required threshold The date and the name of the certified tester If the report shows a fail, the next step is repair and retesting. Ask the tester to note the leak locations, which helps your installer fix the right spots. Duct Leakage Test Failure and Retesting Before Final Inspection A failed test is common and fixable. Most failures trace to a few familiar spots, such as loose joints, disconnected sections, or poorly sealed boots at the air handler. Here is a practical sequence after a failure: Ask the tester to identify where the air is escaping. Seal the leaks with the proper duct sealant or tape. Retest the system before the building inspector visits. Retesting before final inspection saves time. It lets you confirm the repair worked while the crew is still on site. According to the California Mechanical Code article from Sheet Metal Training, if a 40% sample of installed ductwork fails, all installed ductwork must be tested until compliance is achieved. 2025 California Mechanical Code duct testing requirements Verify this against the code that governs your project. Duct Leakage Testing Cost and Scheduling Your Test Most people searching for duct leakage testing are trying to answer three practical questions: what will it cost, how long will it take, and what do I need to do before the rater arrives. Here is how to think about each. What affects the price. The total depends on several factors: Number of systems. A home with one central forced-air system needs one test; a larger home with two or more systems needs each system tested, which multiplies the fee. Project type. New-construction tests are usually straightforward because the ducts are exposed and the site is organized. Existing-home tests can take longer because of access, furniture, and finished surfaces. Access and setup time. Easy attic or crawl space access shortens the visit. Tight access, vaulted ceilings, or registers behind heavy furniture add labor. Because these factors vary from project to project, pricing depends on your system count, project type, and schedule. See Sacramento HERS testing cost for what to budget and why. Contact Central Duct Testing directly for a quote. How long the appointment takes. Ask the scheduler for a time estimate when you book so you can plan crew and inspection timing around it. What the rater needs from you. Access to the air handler and to the registers and grilles on the tested system. The system installed and complete, no open duct connections or work still underway. Permit documents and equipment details available to confirm the system configuration. A clear path to any attic, crawl space, or closet where the ductwork runs. Schedule the test for after installation is finished and before final inspection. Booking too early usually means a second trip and a second fee, and booking too late can hold up your final.
Scheduling around inspection. The test needs to happen at the point in the project where the duct system is complete but the building inspector has not yet signed off. Build the test into your project timeline the same way you build in rough-in and final inspections, and confirm the rater's availability before you commit to an inspection date.
If you are looking for a qualified rater, Central Duct Testing's certified team can help. Read how to find and hire a California HERS rater to compare your options.
Frequently Asked Questions
What is duct leakage testing?
Duct leakage testing measures how much conditioned air escapes from a home's HVAC ductwork before it reaches the living spaces. A certified tester pressurizes the duct system with a calibrated blower fan and measures the airflow needed to hold a set pressure. The result is compared against the leakage limits in the California energy code, and the test confirms whether the ductwork is sealed well enough to meet Title 24 requirements. Results are documented in a report that supports permit closeout.
When is duct leakage testing required for permit closeout?
Duct leakage testing is commonly required for HVAC replacements, alterations that change ductwork, and new residential construction in California. The requirement applies when the work falls under Title 24 energy compliance and the local building department requires documented verification before final sign-off. Contractors should confirm the specific triggers with their local building department, since requirements depend on project scope. Scheduling the test before the final inspection helps avoid delays in closing out the permit.
What happens if a duct system fails a leakage test?
A failed test means the measured leakage exceeds the allowable limit, so the ductwork must be located, sealed, and retested. Under the applicable code, a high failure rate across a sample may require broader testing; confirm the requirement with your building department. The tester can identify the leak locations, and the installer repairs them before a retest. Each retest result is documented alongside the original report.
What documentation is needed after a duct leakage test?
A completed duct leakage test produces a report listing the measured leakage, the test pressure, the equipment used, and the pass or fail result. This documentation is typically submitted to the building department to support permit closeout. Keep the original report, any retest reports, and records of repairs made between tests. Clear documentation shortens the review process at final inspection.
Central Duct Testing offers certified HERS testing and Title 24 compliance for Sacramento HVAC projects. Our team uses calibrated equipment and delivers documentation you can hand to your building inspector. Contact Central Duct Testing to schedule your duct leakage test.
Comments